20 clever kitchen tricks for home cooks
Canva
20 clever kitchen tricks for home cooks
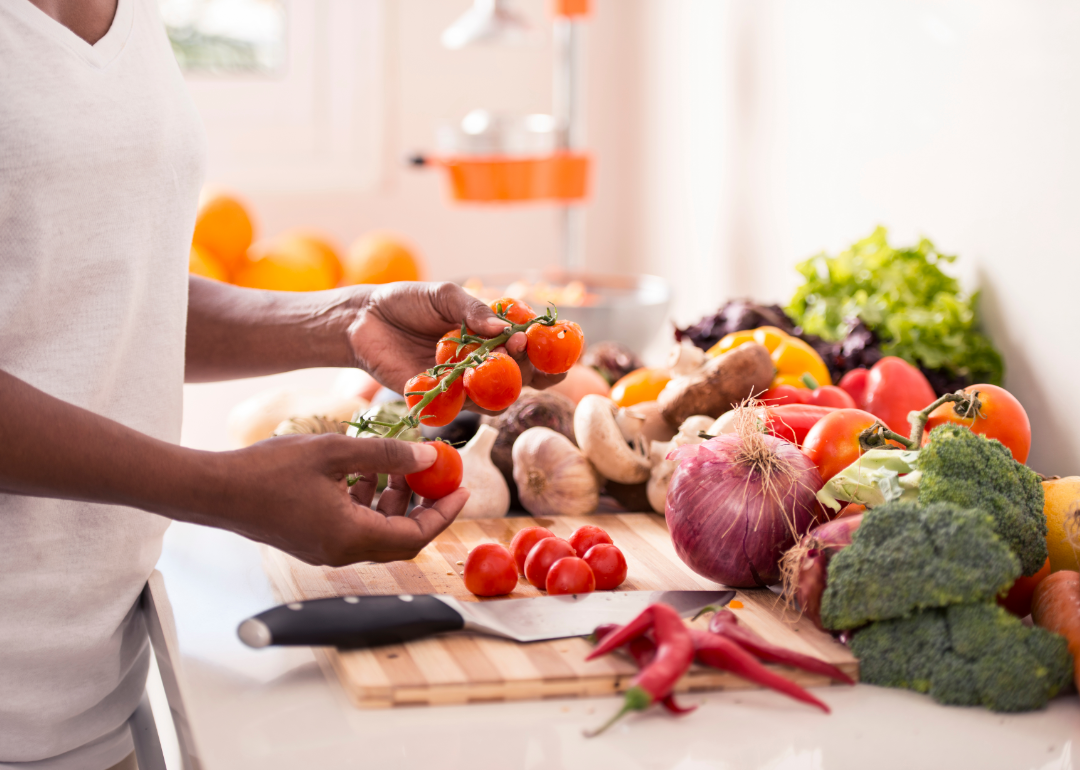
A person inspecting a bunch of vegetables on their kitchen counter.
Cooking at home more often is a New Year’s resolution worth keeping. Your homemade meals will be cheaper and healthier than takeout, you can try your hand at new techniques to stretch your skills, and you can feel confident that you’re addressing food allergies or sensitivities. And that’s all while performing a caring act of service for yourself and your loved ones.
Still, if you’re an aspiring home cook who’s not used to spending much time in the kitchen, the struggle can be real. Everything seems to take longer than you expect. Maybe you don’t have all the right ingredients. Wow, onions really do make you cry. Do you truly have to peel ginger before you grate it? (Spoiler alert: Nope.)
At-home cooking doesn’t have to be stressful or intimidating. Experience Life compiled some of these tips and tricks to make your kitchen work for you.
![]()

Canva
Waste not
Brined pickles, sage, and garlic cloves on a table.
1. Just eat the peels. When it comes to organic produce, peels are often where you’ll find most of the nutrients. Plenty of peels are edible, even if they might not seem like it (looking at you, ginger). One major exception: Tropical fruits such as pineapple, mango, and papaya have thick peels that are tough to digest.
2. Save your pickle or olive brine and use it to add a touch of acid to any recipe. Pickle juice can aid in preventing and alleviating muscle cramps, too.
3. Always reserve some pasta water. Adding a splash of pasta water to the sauce is the best way to help it bind to the noodles.
4. Regrow veggies from scraps. If you save the root end of your green onions, celery, cabbage, or lettuce, you can grow a new plant from the scrap. Put the root in a jar of water and place it in a sunny window. Change the water daily and monitor it until new leaves or roots appear. You can harvest green onions directly from the jar, but larger plants will need to be transplanted into a larger container or in your garden.
5. Save leftover pulp from your homemade juice or nut milk and use it to add a boost of fiber to baked goods, smoothies and other recipes.
6. When you rinse rice in a bowl of water to remove the excess starch, don’t pour the water down the drain. You can save it to wash your hair or your face. It contains trace amounts of vitamins and minerals that encourage hair growth and soothe your skin. Or use it to water your houseplants, which might enjoy the extra starch. Just monitor them carefully, as rice water can also feed harmful soil bacteria.
Canva
Freezer fun
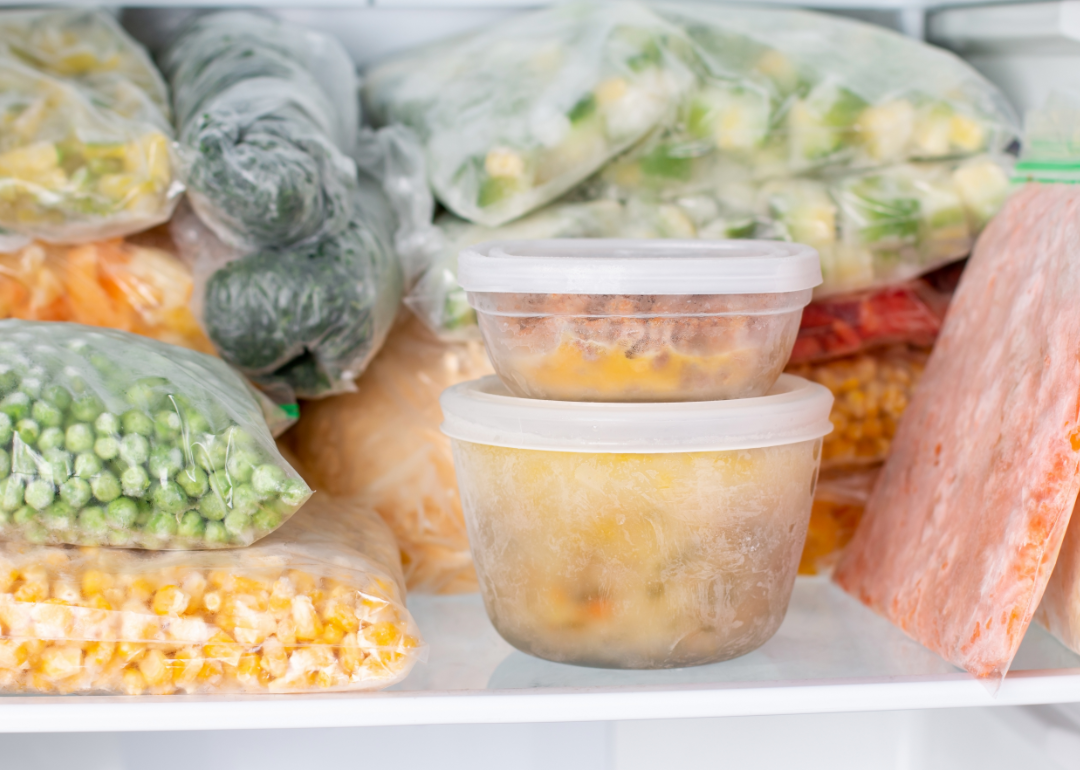
Plastic bags and containers contain a variety of foods in a freezer.
7. Keep a bag of veggie scraps in the freezer. Every time you peel a carrot or chop the top from an onion, add the scraps to the bag. Once you’ve amassed several cups of scraps, use them to make your own broth.
8. When you finish a block of Parmesan or other hard cheese, freeze the rind. The next time you make soup or stew, add the rind to the pot while it simmers to infuse the flavors of the cheese throughout the dish. Some rinds simply dissolve in the broth — if yours doesn’t, fish it out before serving.
9. Have leftover broth or wine? Freeze it in ice-cube trays to make quick flavor boosters for your favorite recipes. You can also do this with coconut milk, tomato paste, and even citrus juice. Use any wine cubes toward the beginning of cooking a dish so the alcohol has a chance to burn off.
10. If you love fresh herbs but hate when they wilt in your fridge, simply chop them up, place them in an ice-cube tray, and cover them with olive oil. Your frozen herb cubes are perfect for adding to soups, stews, roasts, and braises — or melting over roasted veggies or mashed potatoes.
11. Rescue your greens. Tired of racing against time to cook leafy greens before they go bad? Try blanching the leaves in boiling water, then cool, chop, and squeeze out the excess moisture. Freeze greens in quarter-cup portions on a baking sheet until solid and transfer them to a resealable bag or container. Add to scrambles, stir-fries, or soups for an easy nutrient boost.
12. Label, label, label. You may think you’ll remember the block of Bolognese sauce you made in March or the container of chicken curry you stashed near the back of the freezer last week, but you likely won’t, and a simple label can save the day. Include the name of the dish and the date you froze it, and plan to use it within a few months.
Canva
Better baking
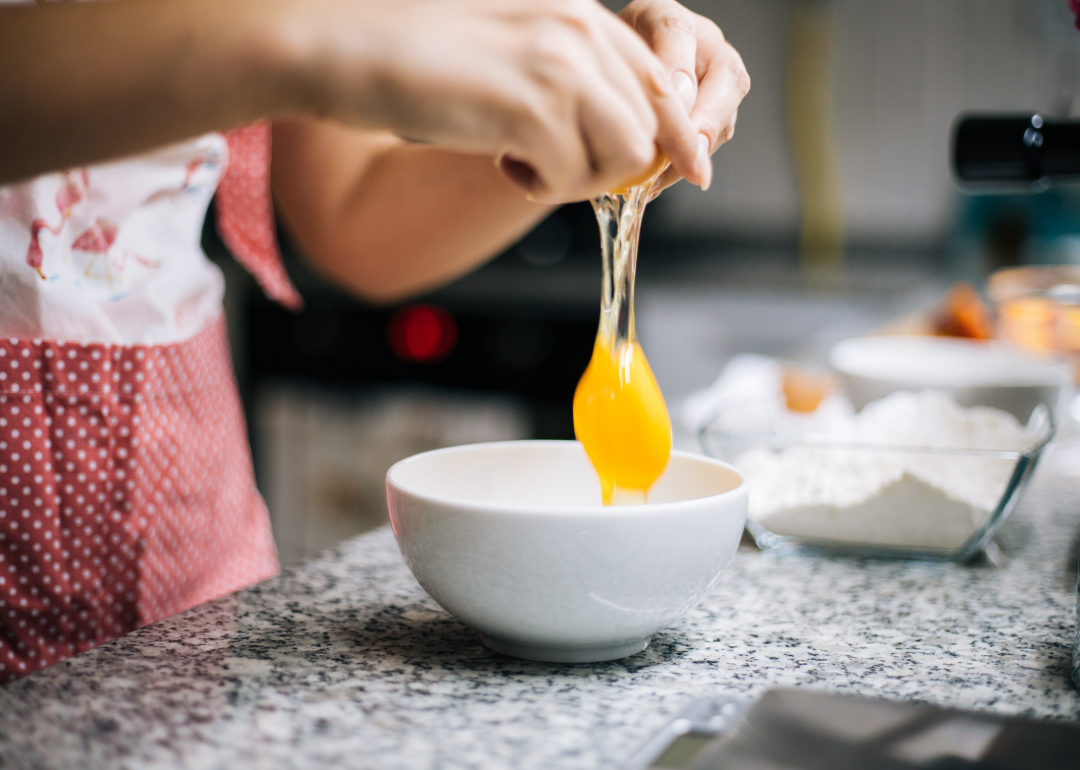
An egg yolk is dropped into a white bowl from a cracked shell.
13. Measure oily ingredients first, especially before sticky ones like honey or maple syrup. The oil residue will help anything else slide right out of the measuring cup or spoon.
14. Crack eggs on a flat surface, not on the rim of your mixing bowl, which can leave errant bits of broken shell in your dish. And use your fingertip to scrape out the last of the egg white from the shell. It may not seem like much, but if you’re making a frittata with 10 eggs, those whites add up.
15. Use a scale. It’s a much more accurate measurement tool than cups and spoons. Plus, you might find that you use fewer dishes by measuring dry ingredients into the same bowl on the scale.
16. If a recipe calls for a room-temperature ingredient, follow that order. Room-temperature ingredients mix together with ease, but cold butter won’t cream with sugar, and cold eggs can break the emulsion in a cake batter or sauce. You can bring eggs to room temperature quickly by submerging them in a bowl of warm (not boiling) water.
17. Forgot to soften butter ahead of time? You can try microwaving it at short intervals, but that often leads to a partially melted mess rather than the pliable room-temperature state you need for many baking projects. Try this instead: Fill a tall glass with boiling water, then let it sit for five minutes to heat the glass. Pour out the water and invert the glass over cold sticks of butter on your countertop. Check your butter after 10 minutes; the sticks should be just warm enough for your baking needs.
Canva
Knife skills
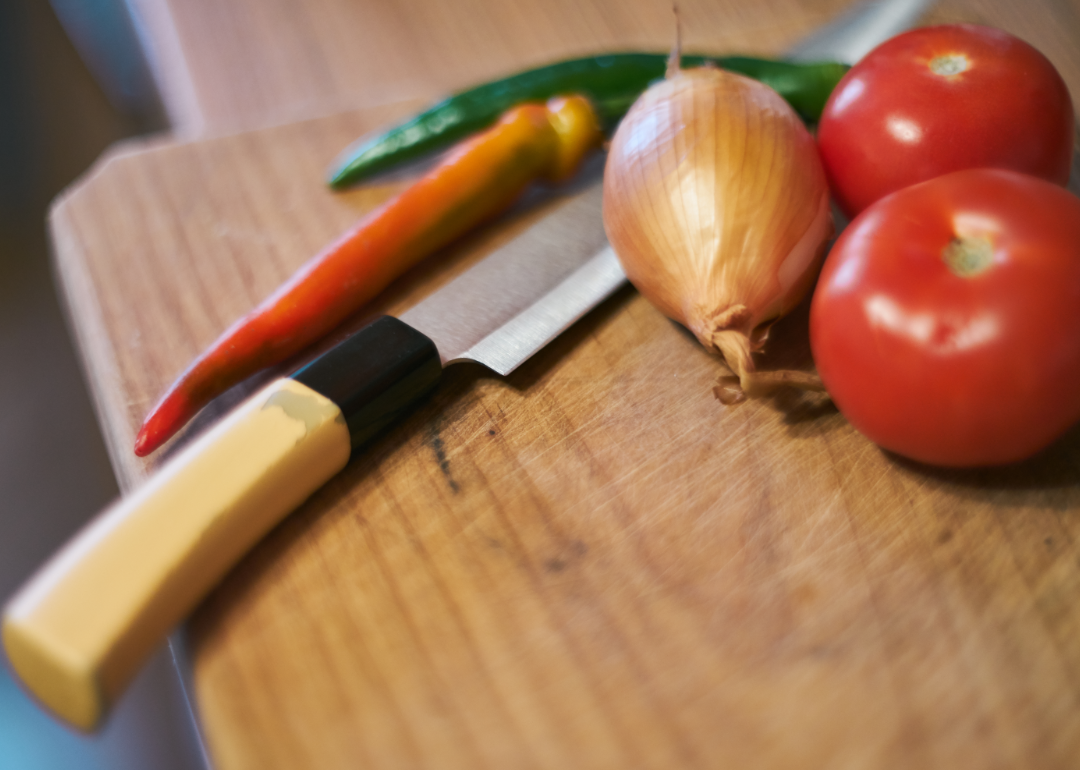
A kitchen knife rests atop a cutting board with several vegetables.
18. Stay sharp. It may seem counterintuitive, but a sharp knife is safer than a dull one — it’s easier to control and less likely to slip. Plus, maintaining a sharp blade means faster prep and a more enjoyable time in the kitchen.
19. Safety first. Always cut on a stable cutting board and keep your eyes on the knife. Hold the ingredient in your nondominant hand with your fingers curled under, so they’re parallel to the blade — this reduces the odds that you’ll slice your fingertip instead of the carrot. You can also wear a cutting glove, which will protect your hand in case the knife slips.
20. Master the basics. If you’re not used to recipe jargon, reading terms like “julienne” and “chiffonade” in the instructions may feel a bit bewildering. Learn to make the most of your favorite ingredients by practicing some of the most commonly used knife cutting techniques.
This story originally appeared on Experience Life and has been independently reviewed to meet journalistic standards.